Our Health Library information does not replace the advice of a doctor. Please be advised that this information is made available to assist our patients to learn more about their health. Our providers may not see and/or treat all topics found herein.
Gestational Diabetes: Checking Your Blood Sugar
Overview
Checking your blood sugar helps you feel more in control of diabetes during pregnancy. It helps you treat low or high blood sugar before it becomes an emergency. It also helps you know how exercise and food affect your blood sugar.
How to test your blood sugar
Do the test
Gather your supplies.
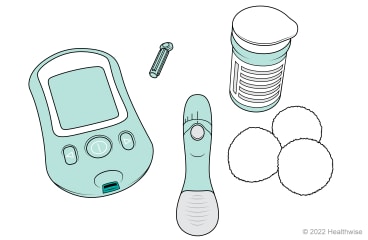
Gather the things you need to test your blood sugar. This usually includes the meter, needle (lancet) and lancet holder, test strips, and cotton balls.
Learn how to use the equipment.
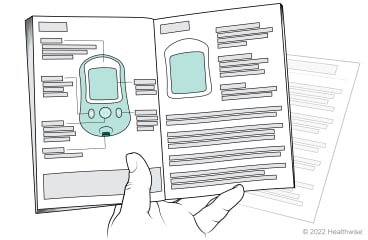
Read the information from the manufacturer and your doctor to be sure you know how to use the blood sugar meter, lancet holder, and test strips.
Check the expiration date.
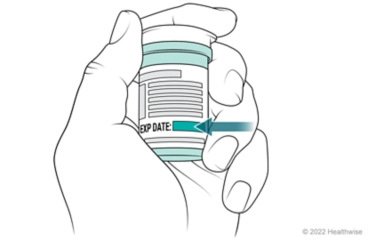
Check the expiration date on your test strips. If you use expired test strips, your test results might not be accurate.
Match the code numbers.
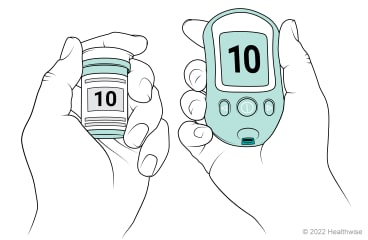
Many meters don't need a code from the test strips, but some will. If your meter does, make sure the code number on the bottle of test strips matches the number on your meter. If the numbers don't match, follow the directions that come with your meter for changing the code number.
Wash your hands.
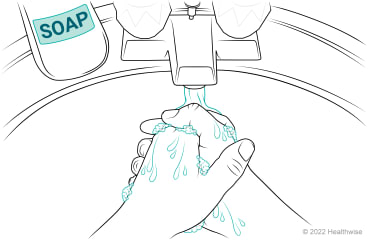
Wash your hands with warm, soapy water, and dry them well with a clean towel.
Put a clean needle (lancet) in the lancet holder.
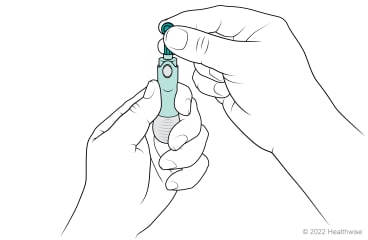
The lancet holder is about the size of a pen. It holds the lancet in place and controls how deeply the lancet goes into your skin.
Get the test strip ready.
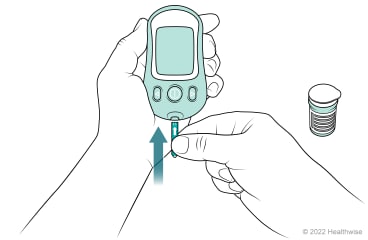
Take one strip from the bottle of test strips. Follow the directions to prepare your meter to receive the blood sample. Don't forget to put the lid back on the bottle right after removing the strip.
Prick your finger.
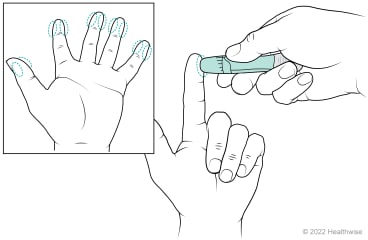
Use a lancet holder to prick the side of your fingertip with the lancet. You can use a lancet without a holder, but a holder makes it easier to use. You can prick any finger.
Test a small sample of your blood.
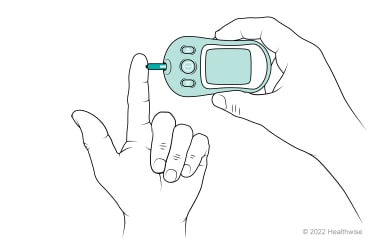
Touch the drop of blood with the correct spot of the test strip. Be sure to get enough blood to cover the test area on the strip.
Stop any bleeding.
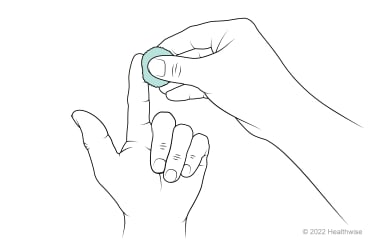
If your finger continues to bleed, use a clean cotton ball to apply pressure to your fingertip to stop the bleeding.
Record your results.
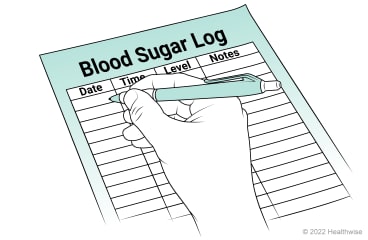
Wait for the results. Most meters take only a few seconds to give you the results. It's important to record your blood sugar results and when you tested it. It's also helpful to note when you last had something to eat. Your doctor will use your record to see how often your blood sugar levels are in your target range. Some meters will store the results and let you share them with your doctor.
Record the results
You and your doctor will use your blood sugar testing record to see how often your levels are in your target range. Here are some ideas for how to do it.
- Use the memory storage feature of your meter and other note-taking features.
Many glucose meters can store hundreds of glucose readings. Some meters can send the results to your computer or mobile device. This makes it easy to share your results with your doctor.
- Get printed blood sugar logs.
You can get these logs from companies that make diabetes medicines and supplies. Or use a home blood sugar diary.
- Make a blood sugar log in a notebook.
You can record other information in the log or notebook, such as insulin doses, your exercise, and foods you have eaten. You and your doctor will find this information most useful when looking for patterns and reasons for your blood sugar levels.
Prevent sore fingers
Frequent blood sugar testing can lead to sore fingertips. Here are some ideas to help avoid this.
- Always prick the side of the fingertip.
Don't prick the tip of the finger. If you do, the prick will be more painful, and you may not get enough blood to do the test accurately.
- Don't squeeze the fingertip.
If you have trouble getting a drop of blood large enough to cover the test area of the strip, hang the hand down below the waist. Count to 5. Then squeeze the finger starting close to the hand and moving outward to the end of the finger.
- Use a different finger each time.
Set a pattern for which finger you stick so that you won't use some fingers more than others. If a finger gets sore, don't use it for testing for a few days.
- Try a different device.
Some blood sugar meters need only a very small amount of blood. And some meters use lancet devices that take the blood sample from other sites, such as the palm of the hand or the forearm. But the finger is usually the most accurate place to test blood sugar.
- Use a different lancet.
Some lancet devices can be set to prick the skin deeply or lightly depending on the thickness of the skin and where on the body you are getting the blood.
- Don't reuse lancets.
Lancets get dull and can cause pain. Plus, a used lancet can carry bacteria that could make you sick. Some people reuse lancets anyway, in some cases to save money. If you do, be extra careful with hand-washing each time. And use a new lancet each day to reduce the chance for bacteria growth.
Credits
Current as of: July 7, 2025
Author: Ignite Healthwise, LLC Staff
Clinical Review Board
All Ignite Healthwise, LLC education is reviewed by a team that includes physicians, nurses, advanced practitioners, registered dieticians, and other healthcare professionals.
Current as of: July 7, 2025
Author: Ignite Healthwise, LLC Staff
Clinical Review Board
All Ignite Healthwise, LLC education is reviewed by a team that includes physicians, nurses, advanced practitioners, registered dieticians, and other healthcare professionals.
This information does not replace the advice of a doctor. Ignite Healthwise, LLC disclaims any warranty or liability for your use of this information. Your use of this information means that you agree to the Terms of Use and Privacy Policy. Learn how we develop our content.
To learn more about Ignite Healthwise, LLC, visit webmdignite.com.
© 2024-2025 Ignite Healthwise, LLC.


